Undo is a command that is most commonly used while working
with any software program. Whenever you do any mistake accidentally during work
or somehow you don’t feel satisfied with your work, you can simply apply the
command named Undo to delete the wrong or undesired work from your document.
For instance, you are working on Microsoft Word and you have performed the
following tasks:
- You have pasted a paragraph on the page.
- Secondly, you have inserted an image.
- Thirdly, you have added a caption for that image.
Having performed all the tasks described above, if you apply
the command named Undo for the very first time, the caption will be disappeared from
the document. If you apply the command named Undo second time, the inserted image will be vanished from the
document. Finally, if you apply the same command third time, the pasted
paragraph will be vanished from the page. That is how you can correct all the
mistakes and prepare a perfectly accurate document. Though, using the command
named Undo you can correct all the mistakes with remarkable ease while working
with most of the software programs, but unfortunately, while working on
Photoshop, this command may not be proved as much simpler and easier as it
seems in the case of Microsoft Word or any other software.
Whenever you apply the command named Undo on Photoshop document, Photoshop delete
the impact of the most recently applied command, whether it be some other
command or the command named Undo itself. For instance, while working with
Photoshop you have performed the following tasks:
- You have added a new layer.
- Secondly, you have filled background color inside it.
- Thirdly, you have reduced the opacity level for that layer
up to 70%.
Having performed all the tasks described above if you select
the command named Undo for the very first time ,the opacity level of the
selected layer will turn back from 70% to 100%
as the reduction in the opacity level was the most recent work done on the
document in that case. But problem is that, if you will apply the command named Undo second time consecutively on the same document, the opacity level of the layer will get reduced again from 100% to 70%. The reason is that, whenever you apply the
command named Undo, this command itself becomes the most recent
command applied on the document and it delete the impact of itself when you
apply it second time consecutively.
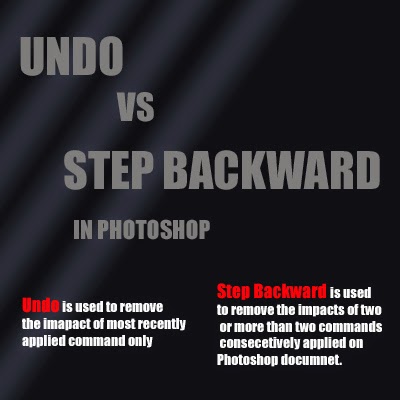 |
| Two commands of Photoshop |
In order to resolve that issue, Photoshop introduced another
command that is referred a Step Backward. This command helps you to delete the
undesired impacts of two or more than two consecutively applied commands on the
document.
How does Step Backward work in Adobe Photoshop?
In order to understand the functionality of the command
named Step Backward follow the instructions given below:
First of all create a new Photoshop document with
RGB Color
Mode and
White Content specified.
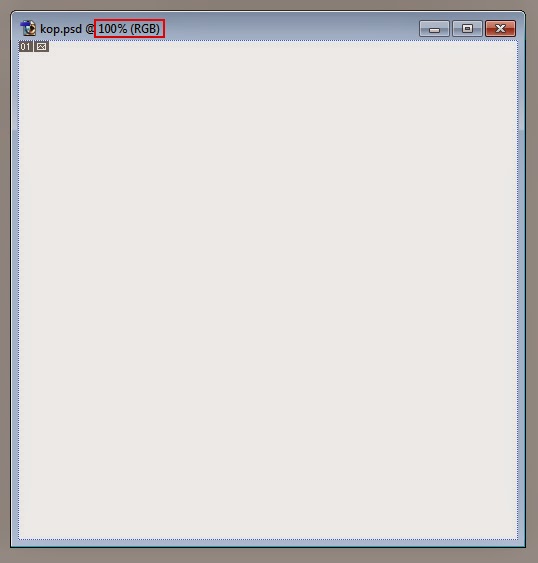 |
| Blank PSD file with RGB color mode and White Content |
In order to fill
Background Color inside the newly created
document, hit
CTRL + Backspace on the Keyboard. As soon as you will do so, the
color that has been selected as
Background Color in Tool Box will be filled
inside the locked background layer of the document according to the picture below
.
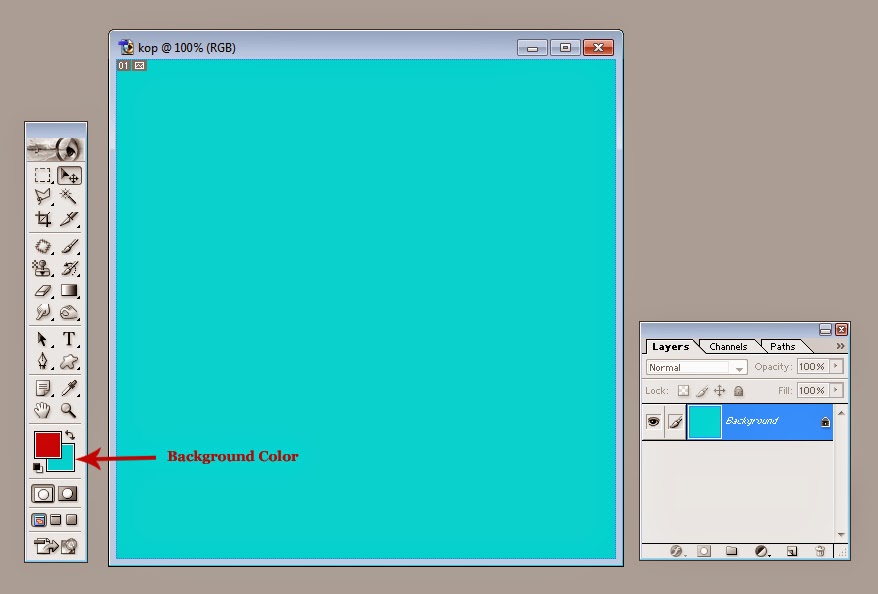 |
| Background Color has been filled inside the locked background layer |
Then add a new layer by hitting the tiny icon that can be
seen right beneath the Layer Palette and referred as Create a new Layer. As
soon as you will hit that icon, a new layer will be added in the document along with the locked background layer and a new
thumbnail representing that new layer will be appeared in the Layer Palette
right above the locked background layer. As the new layer will be completely
transparent and the background layer will totally be visible from
behind it, the addition of new layer will not cause any change in the overall look
of the document. As can be seen in the picture below.
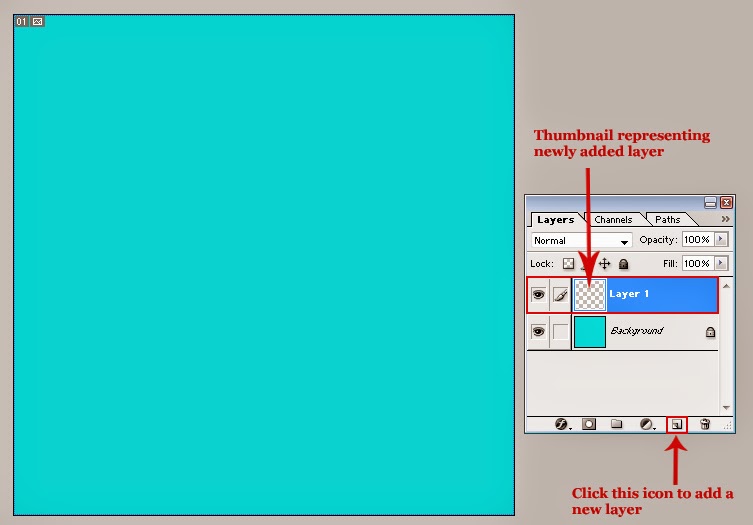 |
| Two thumbnails in the Layer Palette indicating the presence of two separate layers in the document |
After the addition of a new layer, hit
Alt+ Backspace on the
keyboard to fill
Foreground Color inside it. As soon as you will hit
Alt +
Backspace, the color that has been selected as
Foreground Color in the tool box
will be filled inside that layer and it will hide totally the formerly visible background
layer according to the picture below.
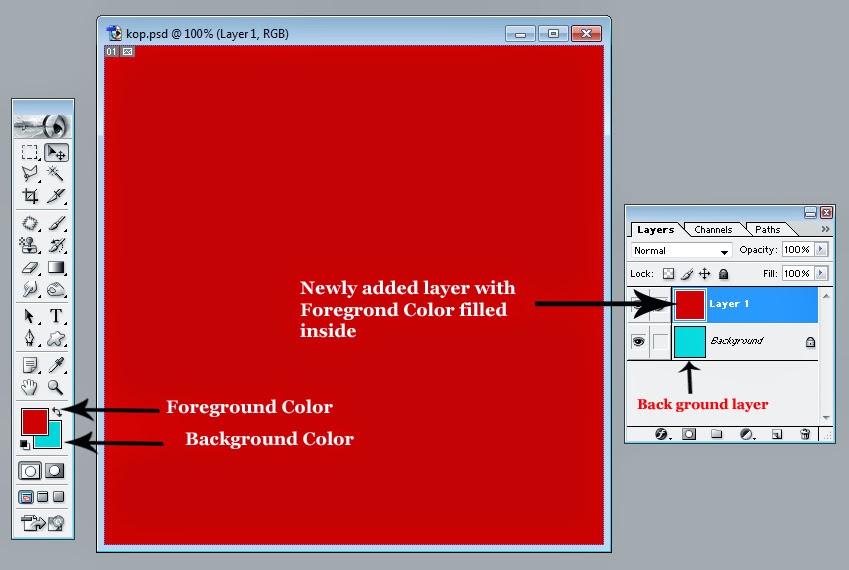 |
| Foreground color has been filled inside layer 1 |
Then reduce the
Opacity of the layer 1 from
100% to
70%
using the slide named
Opacity that can be seen inside the Layer Palette right
beside the drop-down menu referred as
Blending Modes. As soon as you will
reduce the
Opacity of layer 1, the color of background layer will start to
reveal itself to some extant from behind the layer 1 according to the picture below.
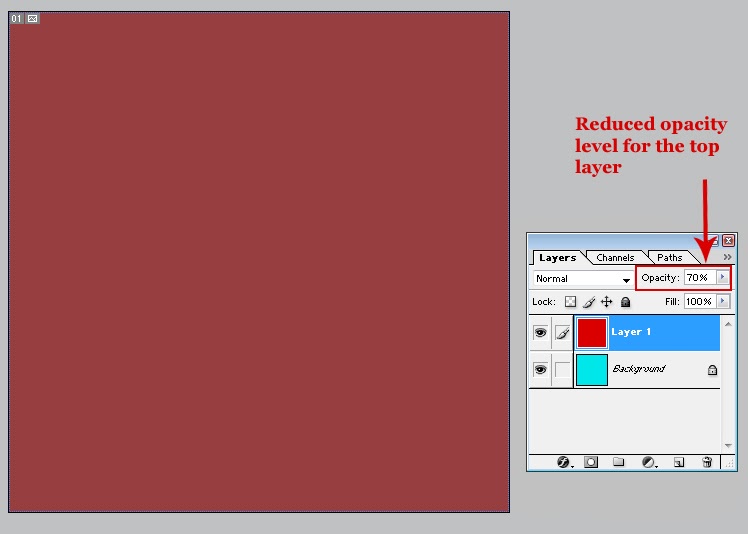 |
| Layer 1 with reduced Opacity level |
Then get inside the
Edit Menu and select the option named
Step
Backward for the very first time
either by clicking on it in the menu or by hitting
CTRL + ALT +Z on the keyboard.
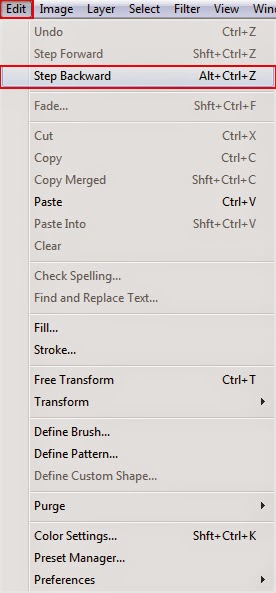 |
| Option referred as Step Backward given in the Edit Menu |
As soon as you will select that option, you will notice
that the opacity of layer 1 will
turn back from
70% to
100% all by itself and it will hide the background layer completely according to the picture below.
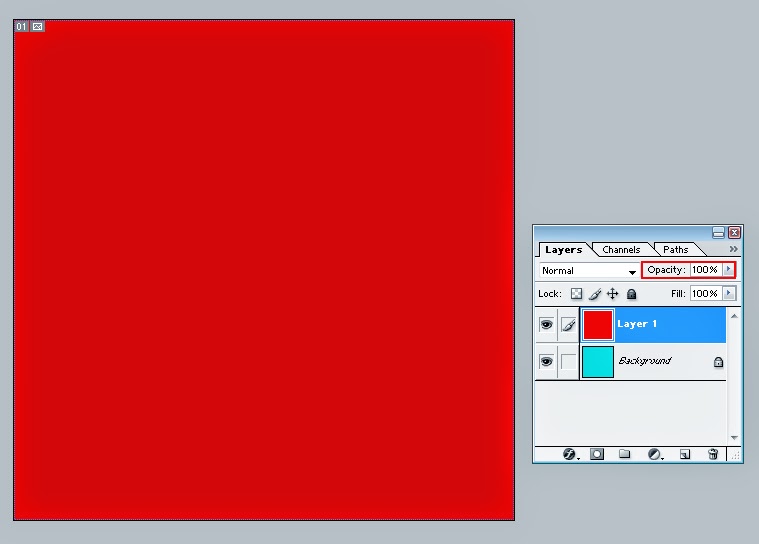 |
| Opacity level has been turned back from 70% to 100% for the layer 1 |
Then, select the command named
Step Backward again. As soon
as you will do so, impacts of the second last command applied on the document named
Foreground Color will be deleted and the layer 1 will get completely transparent
again. Further, the Background layer will become perfectly visible again
according to the picture below
.
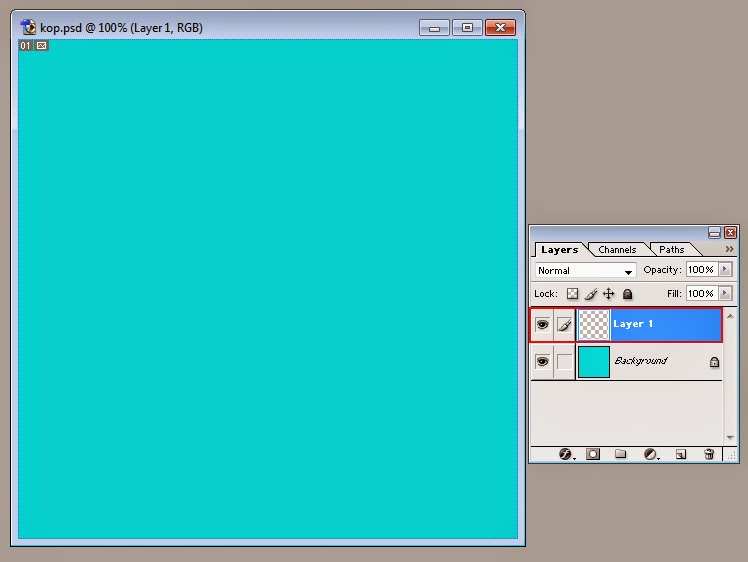 |
| Impact of the command named Foreground Color has been deleted |
After that, select the command named
Step Backward one more
time, and this time the impact of the third last command (Creation of a new
layer) will be removed and the layer 1 will be vanished from the Layer Palette
according to the picture below.
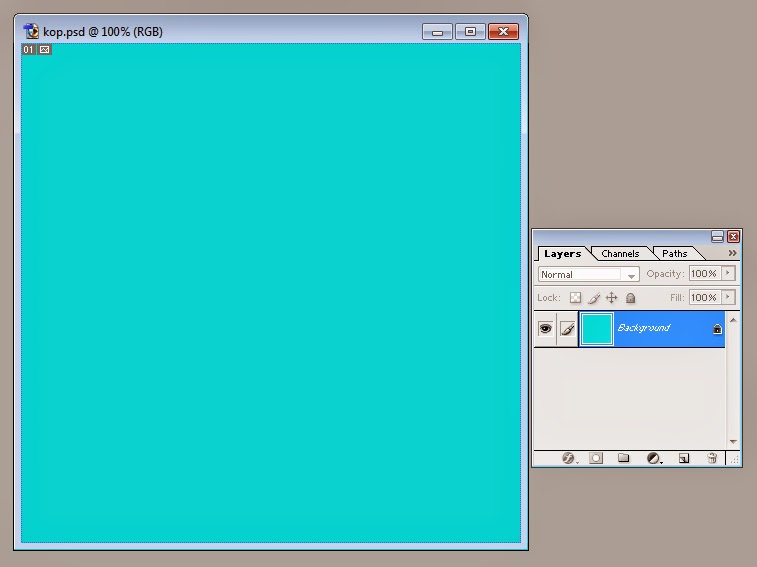 |
| Layer 1 no longer available |
Then select the command named
Step Backward again either by clicking on it in
the
Edit Menu or by hitting
CTRL + ALT +
Z on the keyboard. As soon as you will perform that action, impact of the fourth last command (
Background Color) will be
removed and the Background layer will turn pure white again according to the
picture below.
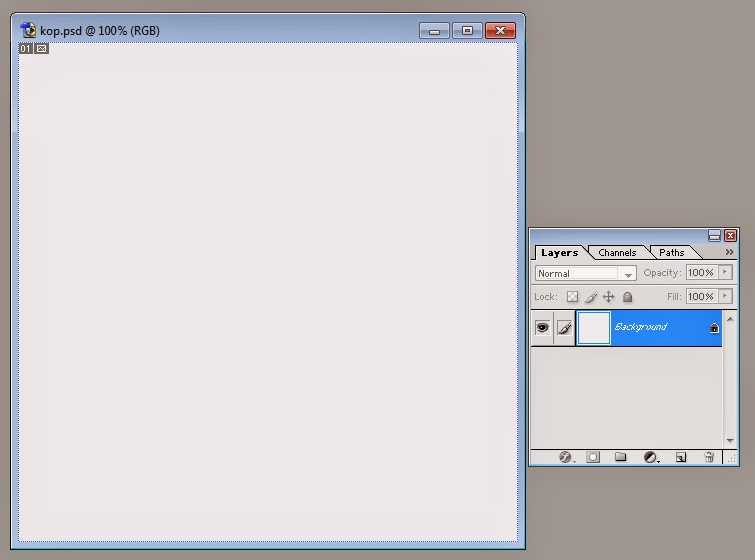 |
| Background layer turned pure white again |
Having removed the impacts of all the commands applied on the
document, if you have a look on the
Edit Menu you will notice that the command
named
Step Backward no longer available there as there is left nothing to
be undone anymore.
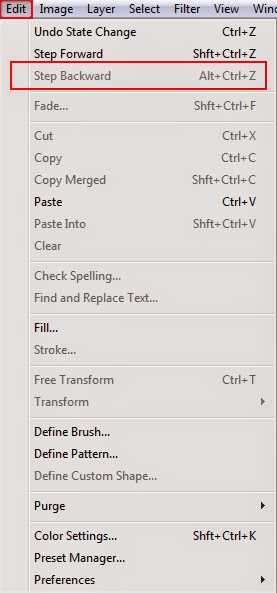 |
| Option referred as Step Backward can not be used when nothing left to be undone on the document |
So that’s the way through which you can rectify all the
mistakes and everything undesired done on the Photoshop document during the work.
I am certain this post will be proved helpful to all the readers especially the beginner ones in the field of Information Technology in general and in the field of Computer Graphic in particular. If you want to put forward any question regarding the topic or suggestion for further improvement kindly don't forget to subscribe your comments.


0 comments:
Post a Comment